I am trying to install Visual Studio Community 2019 to a set of offline computers. I have followed the Visual studio instructions precisely and i have created the offline cache folder with all the files and .exe however when i try to install Visual Studio using the offline installer i get a prompt that it is “just getting things ready” then shows a window which attempts to download packages but again i have no network on these computers and i am really scratching my head as to why a OFFLINE installer is trying to connect to the internet…
What the hell is it doing and can i get it to skip this step somehow ?
here is what i have done:
1: Download the Visual Studio Comminity 2019 bootstrapper from:
2: Rename the downloaded Visual studio bootstrapper to vs_community.exe.
3: Within the CMD window enter: vs_community.exe –layout C:\vslayout –lang en-US
where C:\vslayout is the folder which shall be created and used to store the offline installer so change the path and name as preferred.
4: To install Visual studio using the offline installer, open the offline installers and run the setup.exe
But i get these dam windows popping up?
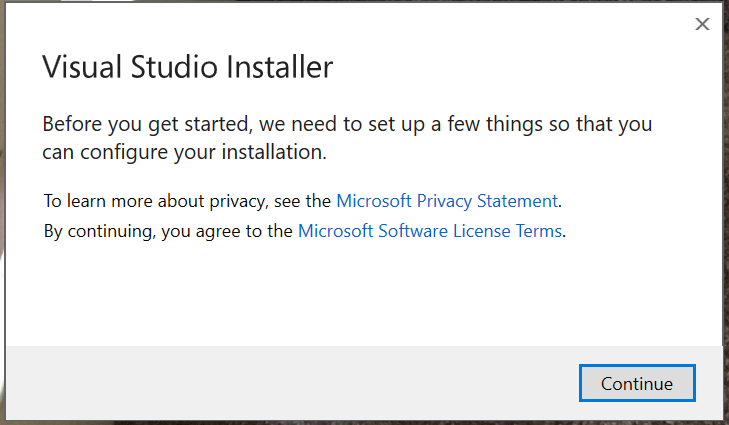
Before we get started we need to setup a few things…
Installer downloading files…

3 Answers
Installing Visual Studio Community 2019 to Offline Computers
Visual Studio Community 2019 is a popular Integrated Development Environment (IDE) used by developers to create applications for different platforms. However, installing it on offline computers can be challenging because the installer tries to download packages from the internet during the installation process. In this blog post, we will discuss how to install Visual Studio Community 2019 on offline computers without internet access.
Step 1: Download the Visual Studio Community 2019 Bootstrapper
The first step is to download the Visual Studio Community 2019 bootstrapper from the official Microsoft website. The bootstrapper is a small file that downloads and installs Visual Studio on your computer. However, we need to modify the bootstrapper to create an offline installer.
To download the bootstrapper, go to the following link: https://visualstudio.microsoft.com/thank-you-downloading-visual-studio/?sku=community&rel=16&utm_medium=microsoft&utm_source=docs.microsoft.com&utm_campaign=offline+install&utm_content=download+vs2019. This link will download the latest version of Visual Studio Community 2019.
Step 2: Rename the Downloaded Bootstrapper
After downloading the bootstrapper, rename the file to something simpler like “vs_community.exe”. This will make it easier to run the bootstrapper from the command prompt.
Step 3: Create an Offline Cache Folder
The next step is to create an offline cache folder that contains all the files required for the installation. To create the offline cache folder, open the command prompt and navigate to the folder where you saved the bootstrapper. Then, type the following command:
vs_community.exe –layout C:vslayout –lang en-US
This command will create an offline cache folder named “vslayout” in the C: drive. You can change the folder name and location as per your preference.
Step 4: Install Visual Studio Community 2019
To install Visual Studio Community 2019 on an offline computer, copy the offline cache folder to the target computer and run the setup.exe file. This will start the installation process, and you will see a window that says “Before we get started we need to setup a few things…”.
Step 5: Disable Internet Access
During the installation process, Visual Studio may try to download packages from the internet. To prevent this from happening, you need to disable internet access on the target computer. You can do this by unplugging the network cable or turning off the Wi-Fi.
Step 6: Complete the Installation Process
Once you have disabled internet access, the installation process will continue without any interruptions. You may see a window that says “Installer downloading files…”, but this is just the installer extracting files from the offline cache folder.
After the installation is complete, you can launch Visual Studio and start using it on the offline computer.
In conclusion, installing Visual Studio Community 2019 on an offline computer is possible by following the steps mentioned above. By creating an offline cache folder, you can install Visual Studio without internet access and avoid any issues that may arise during the installation process.
It sounds like the offline installer is trying to download additional packages or updates during the installation process, even though you have already downloaded the necessary files to the offline cache folder. To bypass this issue, you can try using the “–noWeb” flag when running the vs_community.exe file in step 3. This flag tells the installer to not try to download any additional packages or updates.
Try running this command: vs_community.exe --layout C:\vslayout --lang en-US --noWeb
This should prevent the installer from attempting to download any additional files during the installation process and use the files you have already downloaded in the offline cache folder instead.
I successfully resolved the issue by installing the necessary certificates to the local machine. This can be done by either navigating to the “certificates” folder within the “layout” folder, or by right-clicking on the “setup.exe” file, selecting “Properties,” going to “Digital Signatures,” selecting an item from the list, clicking “Details,” viewing the certificate, and then choosing “Local Machine” before continuing the process with the default settings. Once the certificates are installed, I ran the .exe file as an administrator and it worked.