I am experiencing an issue with my computer where connecting a USB memory stick results in it being assigned a drive letter that persists even after I disconnect the memory stick. Consequently, my File Explorer displays numerous entries for USB memory sticks that are no longer connected to my computer.
Could you suggest a solution to remove these entries?
3 Answers
Understanding the Issue
Before we dive into the solution, let’s first understand the issue. When you insert a USB memory stick into your computer, it is assigned a drive letter. This drive letter is used to access the files on the memory stick. However, sometimes when you remove the memory stick, the drive letter assigned to it remains in the system. This can happen due to various reasons such as an error in the system or the memory stick not being ejected properly.
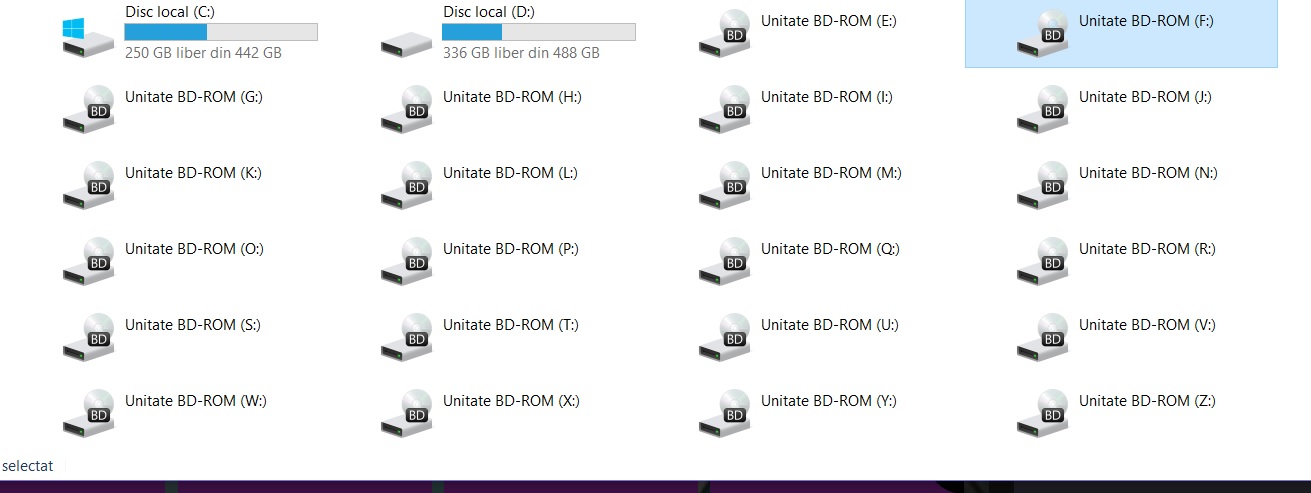
When the drive letter remains in the system, Windows displays it as a partition in the File Explorer. This can be confusing and clutter your File Explorer, making it difficult to find the partitions that you actually need. Therefore, it is important to remove these partitions to keep your system organized.
Using Disk Management to Remove the Partition
Now that we understand the issue, let’s move on to the solution. The easiest way to remove the partition is by using the Disk Management tool in Windows. Here’s how you can do it:
1. Press the Windows key + X and select Disk Management from the menu.
2. In the Disk Management window, you will see a list of all the drives and partitions on your computer. Look for the partition that corresponds to the USB memory stick that you have removed. It should be labeled as “Removable”.
3. Right-click on the partition and select “Delete Volume” from the context menu.
4. A warning message will appear, asking if you are sure you want to delete the volume. Click “Yes” to proceed.
5. The partition will be deleted, and the drive letter will be removed from the system.
6. If you want to remove the partition completely, right-click on the unallocated space and select “Delete Partition”.
Using Command Prompt to Remove the Partition
If you prefer using the command prompt, you can also remove the partition using the Diskpart tool. Here’s how:
1. Press the Windows key + X and select “Command Prompt (Admin)” from the menu.
2. In the command prompt window, type “diskpart” and press Enter.
3. Type “list disk” and press Enter. This will show you a list of all the disks connected to your computer.
4. Type “select disk X” (replace X with the number of the disk that corresponds to the USB memory stick) and press Enter.
5. Type “list partition” and press Enter. This will show you a list of all the partitions on the selected disk.
6. Type “select partition X” (replace X with the number of the partition that you want to delete) and press Enter.
7. Type “delete partition override” and press Enter. This will delete the partition.
8. Type “exit” and press Enter to exit the Diskpart tool.
Preventing the Issue
To prevent this issue from happening in the future, make sure to eject your USB memory stick properly. To do this, right-click on the USB drive in the File Explorer and select “Eject” from the context menu. This will safely remove the memory stick and prevent the drive letter from remaining in the system.
Conclusion
Having multiple partitions in your File Explorer can be confusing and clutter your system. By using the Disk Management tool or the Diskpart tool, you can easily remove the partitions that remain after disconnecting your USB memory stick. It is also important to eject your memory stick properly to prevent the issue from happening in the future.
To erase a disk partition that remains after inserting a USB stick, you can use the Disk Management tool in Windows. Here’s how:
- Press the Windows key + R to open the Run dialog.
- Type “diskmgmt.msc” and press Enter to open the Disk Management tool.
- In the Disk Management tool, you will see a list of all the disk partitions on your computer. Look for the partition that corresponds to the USB stick that you want to erase. It will likely be labeled as a “Removable Disk” and will have a drive letter assigned to it.
- Right-click on the partition and select “Delete Volume” from the context menu.
- Confirm that you want to delete the volume by clicking “Yes” when prompted.
This will delete the partition and remove it from the list in the Disk Management tool. Note that this will not delete the data on the USB stick itself, only the partition that was created on your computer’s hard drive when you connected the USB stick. To erase the data on the USB stick, you will need to format it using the Disk Management tool or another tool such as the Windows File Explorer or a third-party utility.
I believe that the problem is related to the drive letters in Windows 10.
To solve the issue, you need to follow these steps:
- Right-click on each of the non-existent drives one by one and choose “Properties.”
- In the Properties window, you will see several tabs including General, DVD Region, Volumes, Driver, Details, and Events. Click on the “Driver” tab.
- Select the “Disable” option from the Driver tab. A warning message will appear, asking if you are sure you want to do this. Click “Yes.”
- After performing the above steps, the entire issue should be resolved. When you insert a USB drive, the drive letter should appear. And when you remove the USB drive, it should no longer be visible in both File Explorer and Disk Management.